A Simple Remote-Controlled Arduino Tank
By Paul Bleisch
A little while ago my son was showing some interest in robotics. His birthday was coming up and we were having trouble deciding between a beginner robot kit focused more on construction or lots of bits and pieces.
The kit we looked at was the Elenco OWI ATR - All Terrain Robot:

The alternative was to build a robot based around Arduino. There are many robotics kits out there but I liked the idea of investing in Arduino as the basis for exploring robotics. I figured we would get the Arduino Uno, a few shields to control motors and sensors and whatnot, throw some wheels on it, and blammo, have a robot.
Then the shopping set in. There is a multitude of places to buy a multitude of robot stuff. I was tempted by RobotShop's DFRobotShop Rover. Arduino compatible, everything we need to get started. And it was on sale at the time I was looking.
In the end, we bought our son the OWI ATR kit mentioned above for his birthday and I ordered a bunch of bits and pieces instead of the RobotShop Rover to build something more advanced with him. He really enjoyed the OWI ATR kit - he likes to build with his hands so it was the right balance of technology and construction.
For the Arduino robot project, I decided to start with a simple remote controlled tank. I really had no specific plan though I had searched around a bit on YouTube and such to see that others had managed to throw something together. I ordered everything from Amazon though not everything was fulfilled by Amazon so I paid shipping for a few things. Otherwise, I tried to spend as little as possible.
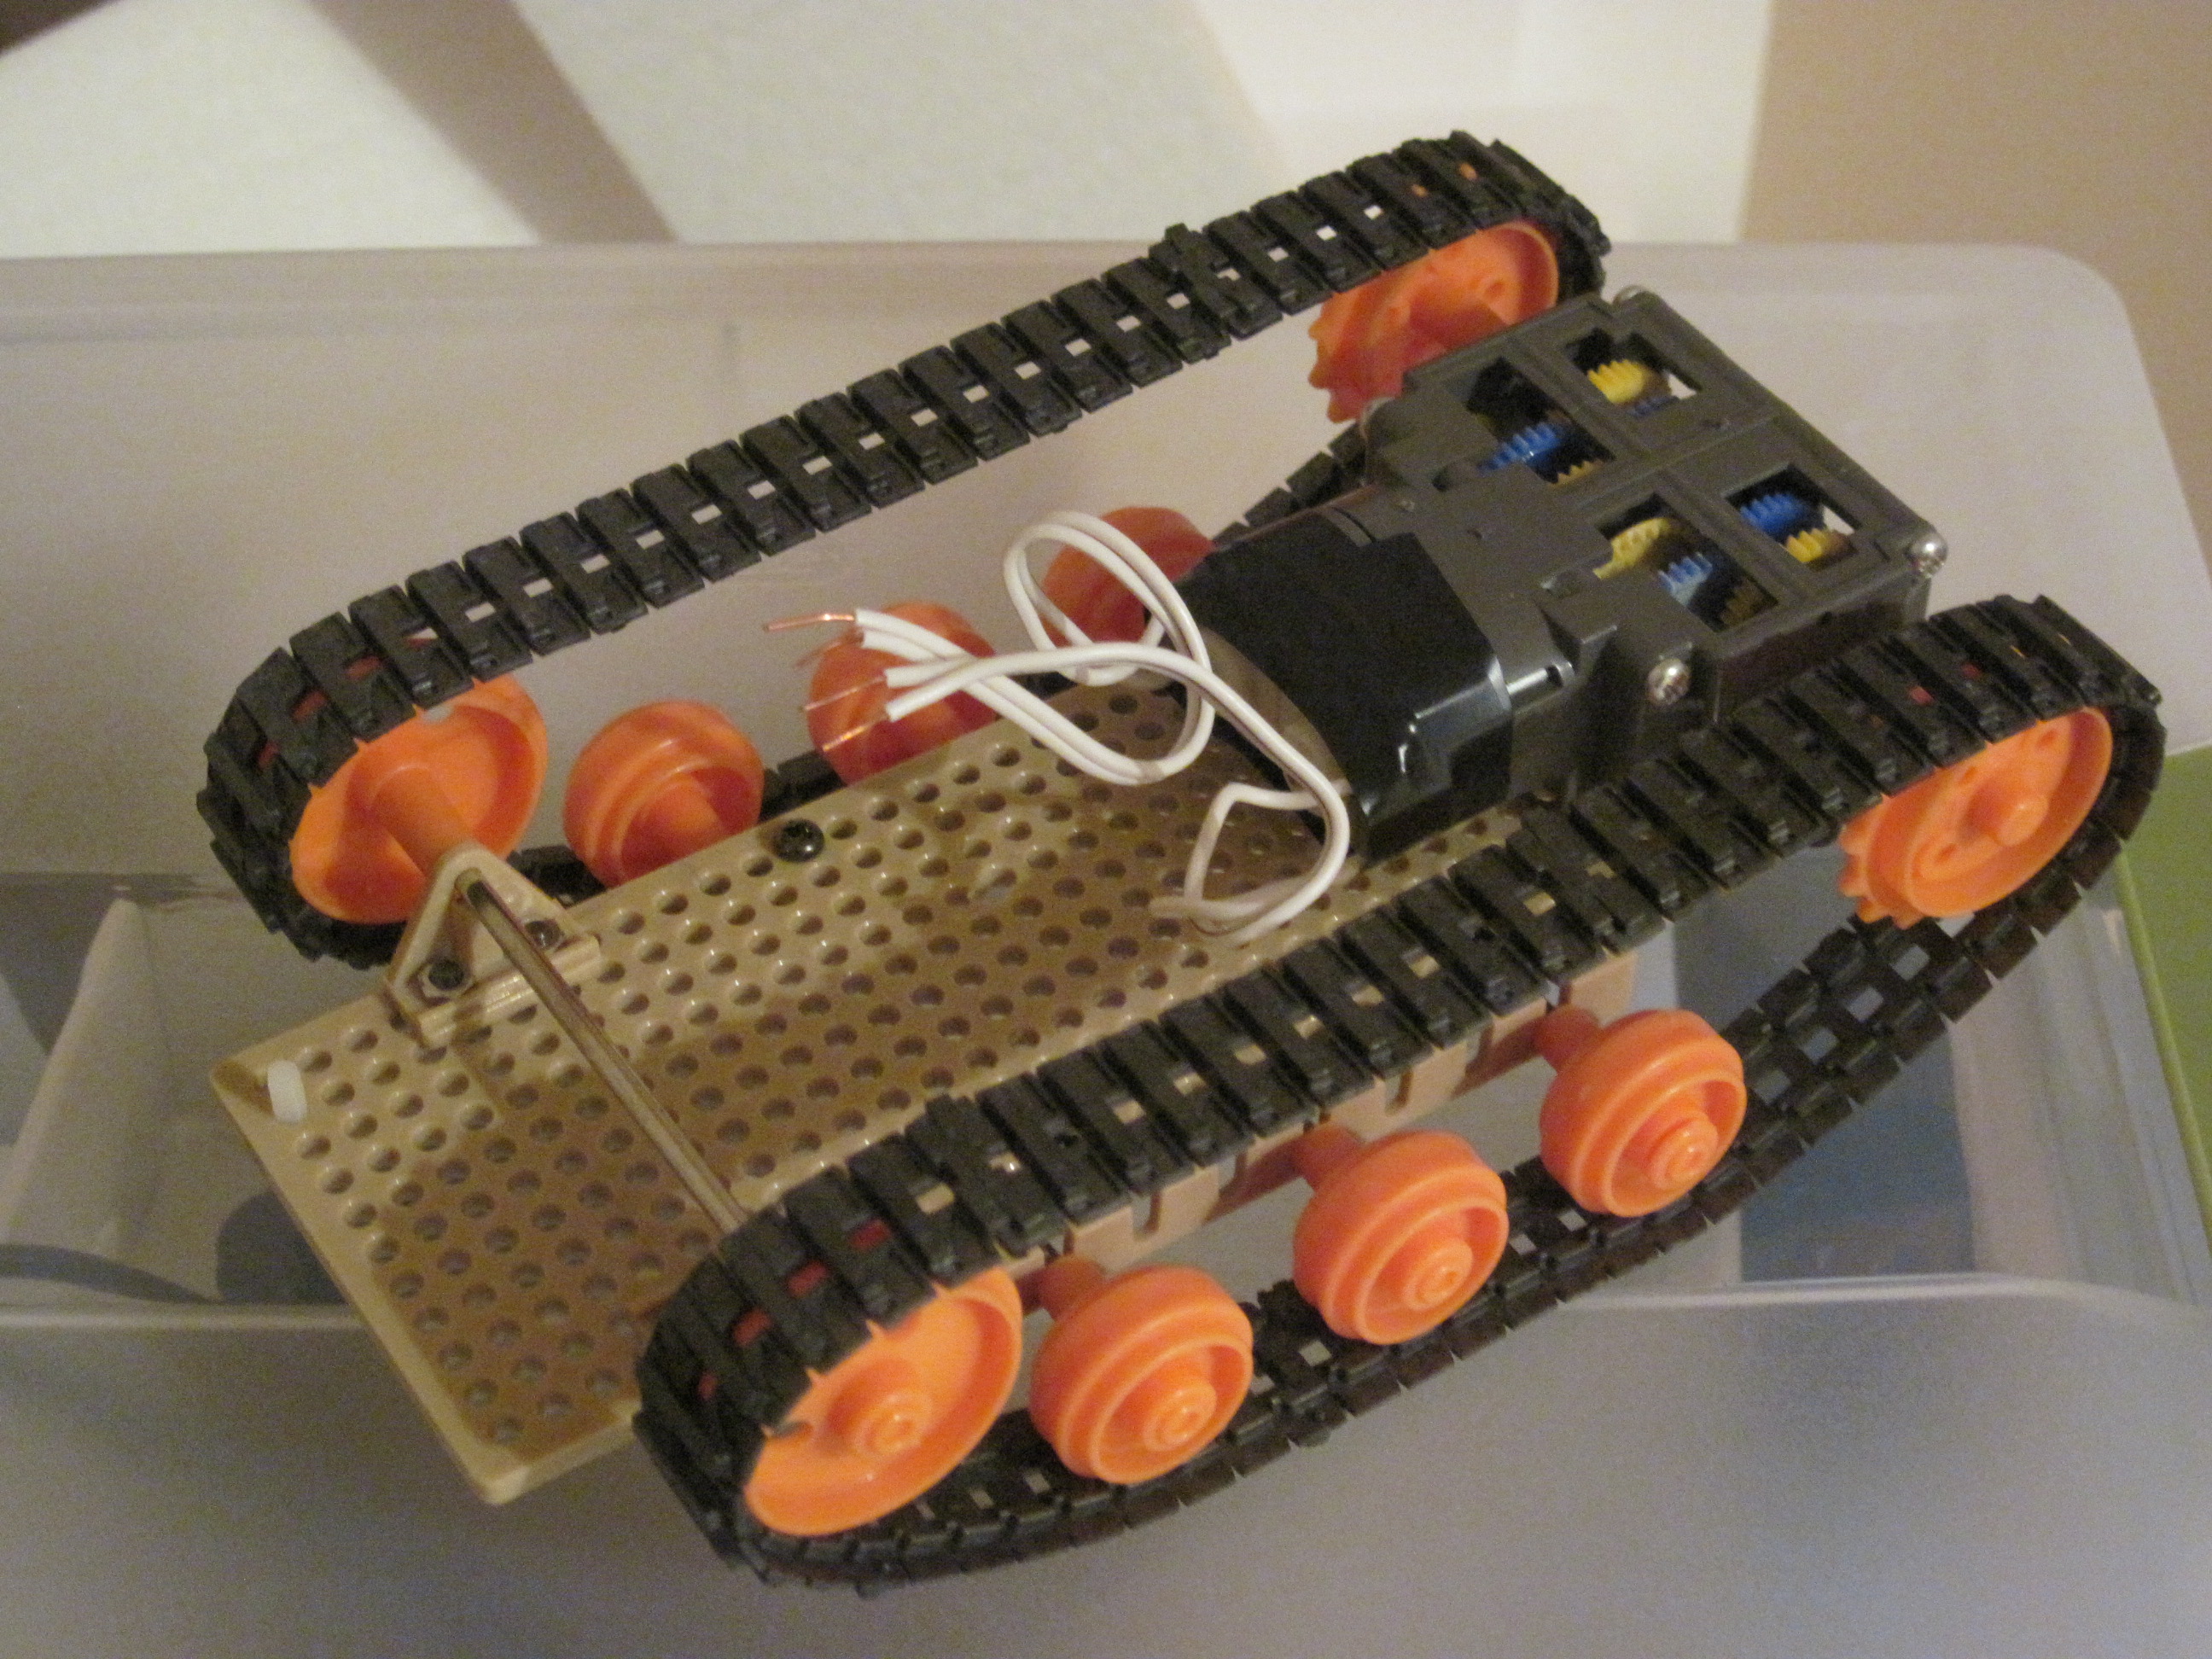
For the mechanicals, I used cheap Tamiya plastic bits. The instructions on these are not the most verbose but my son and I managed to stumble through without any damage to ourselves or the parts.
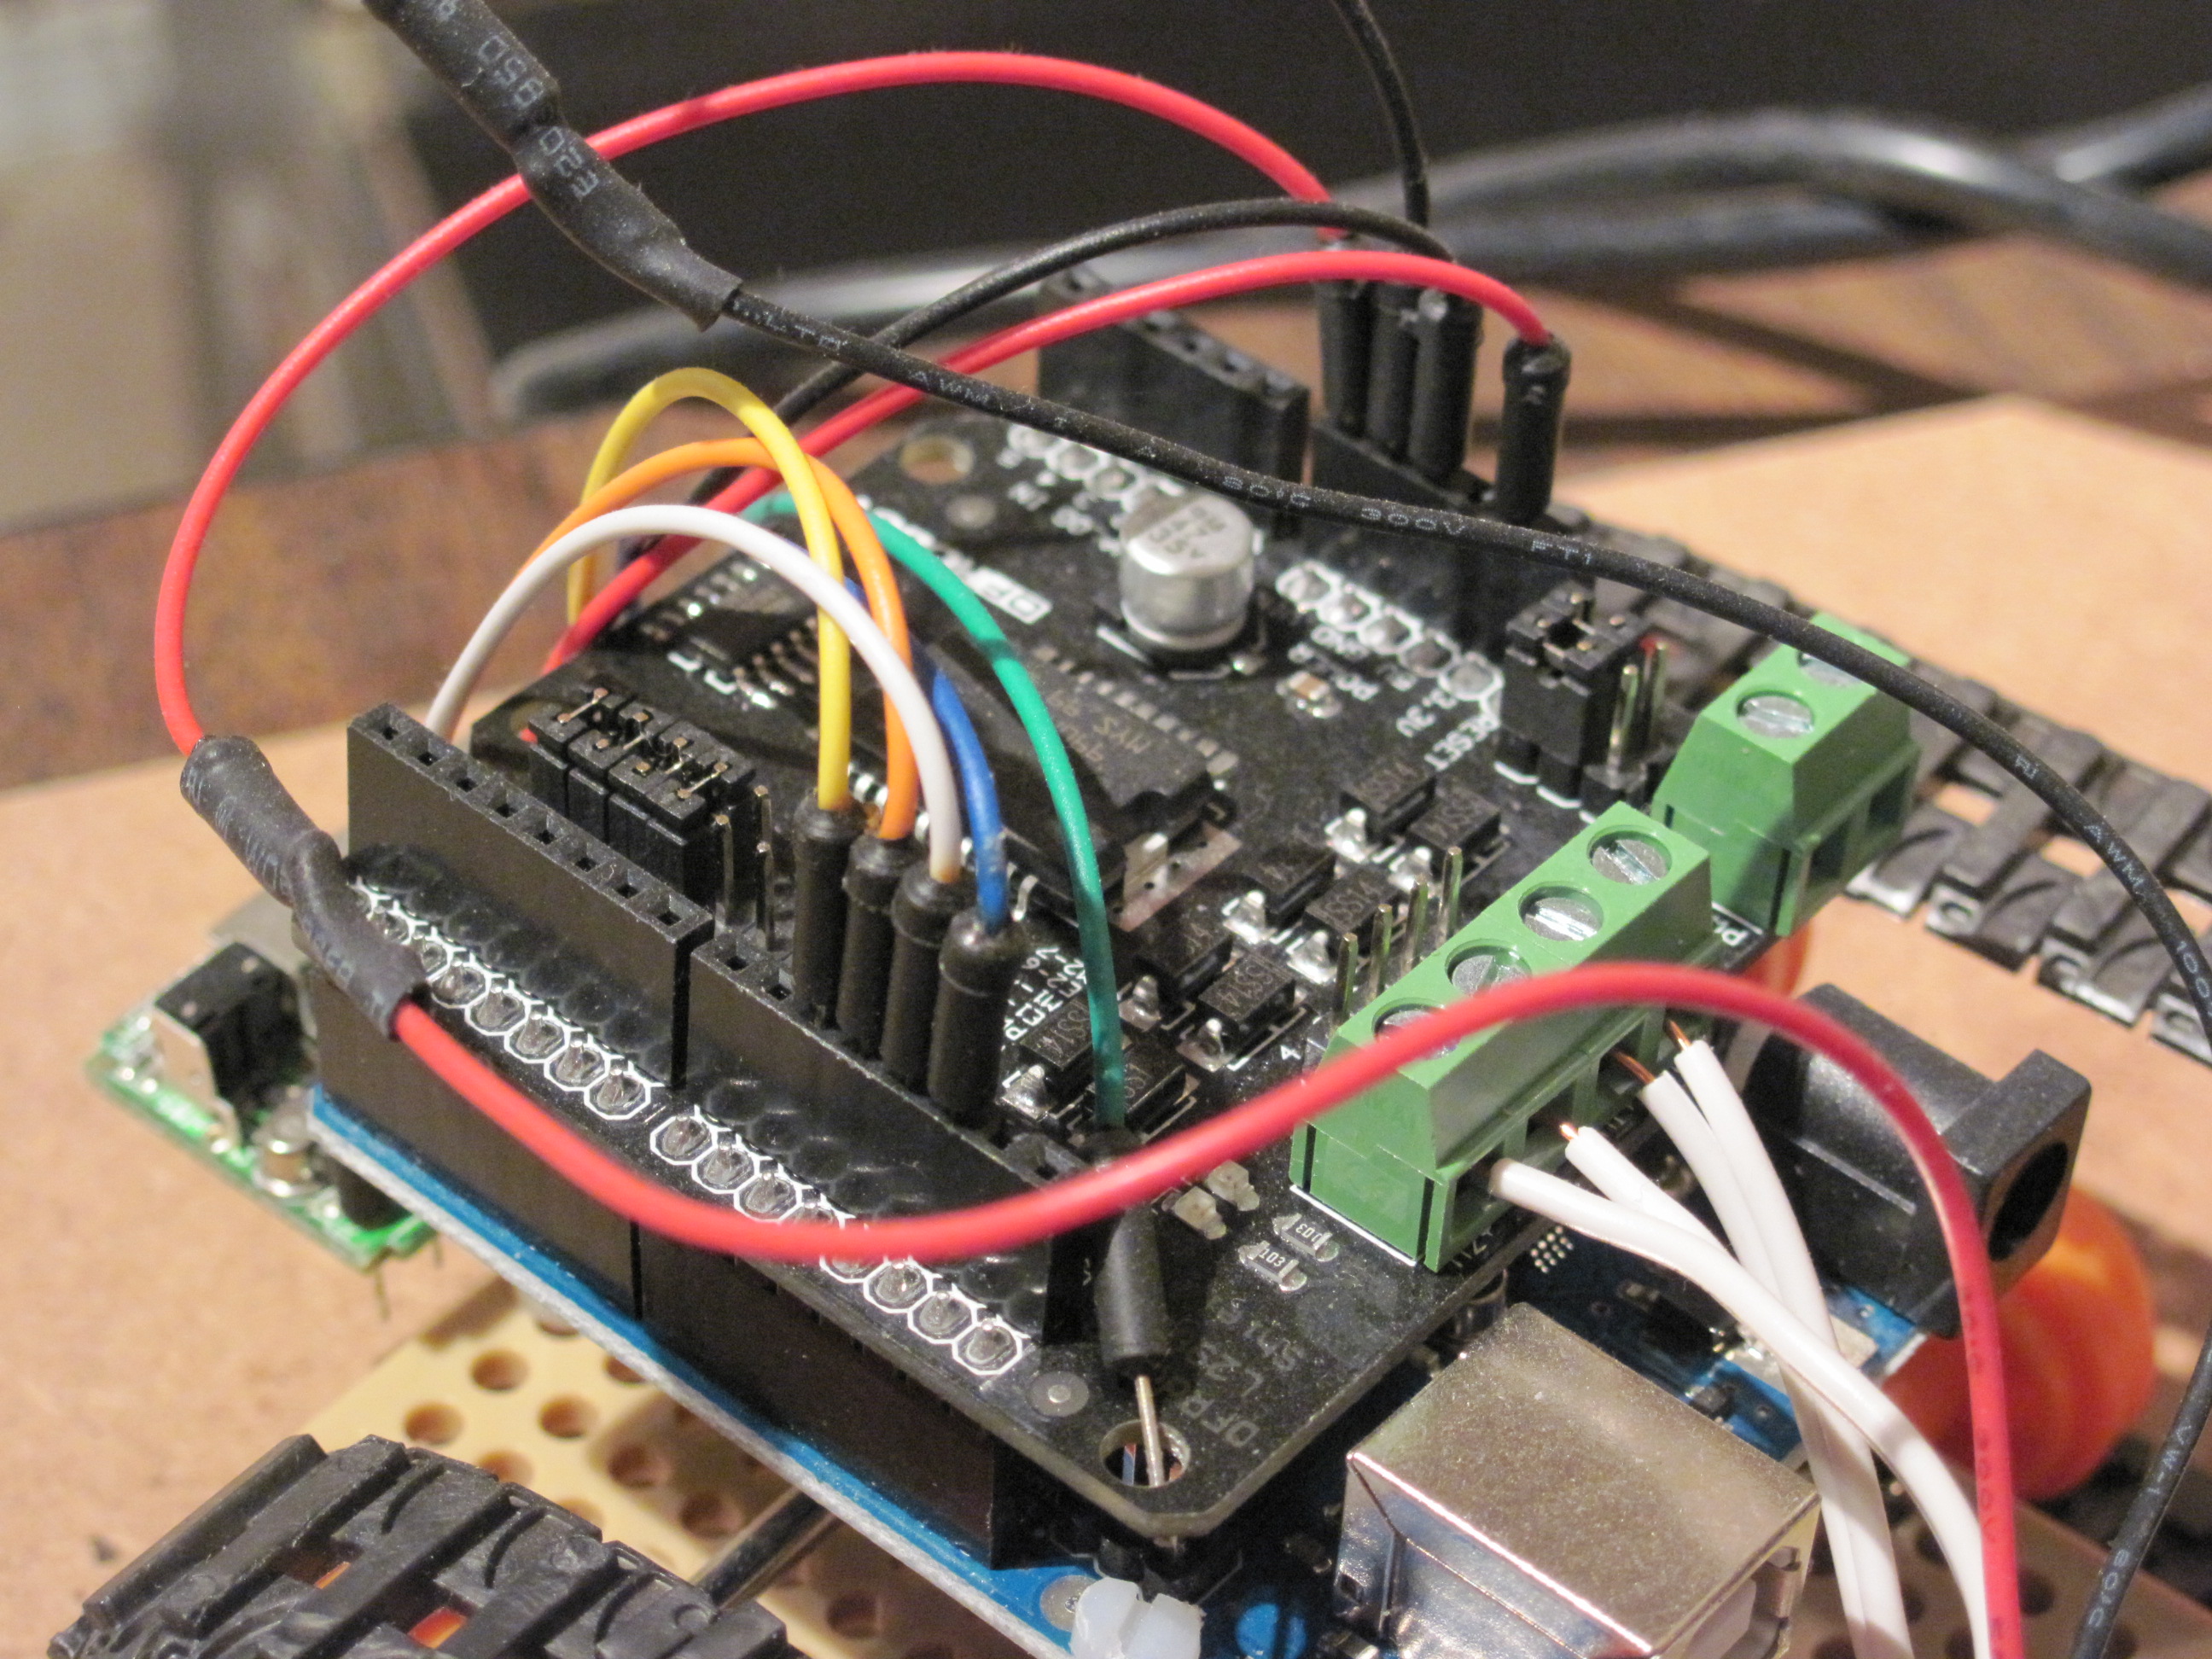
For the brains behind the operation, I went with a fairly stock setup with an Arduino Uno and a Motor Shield from DFRobot.
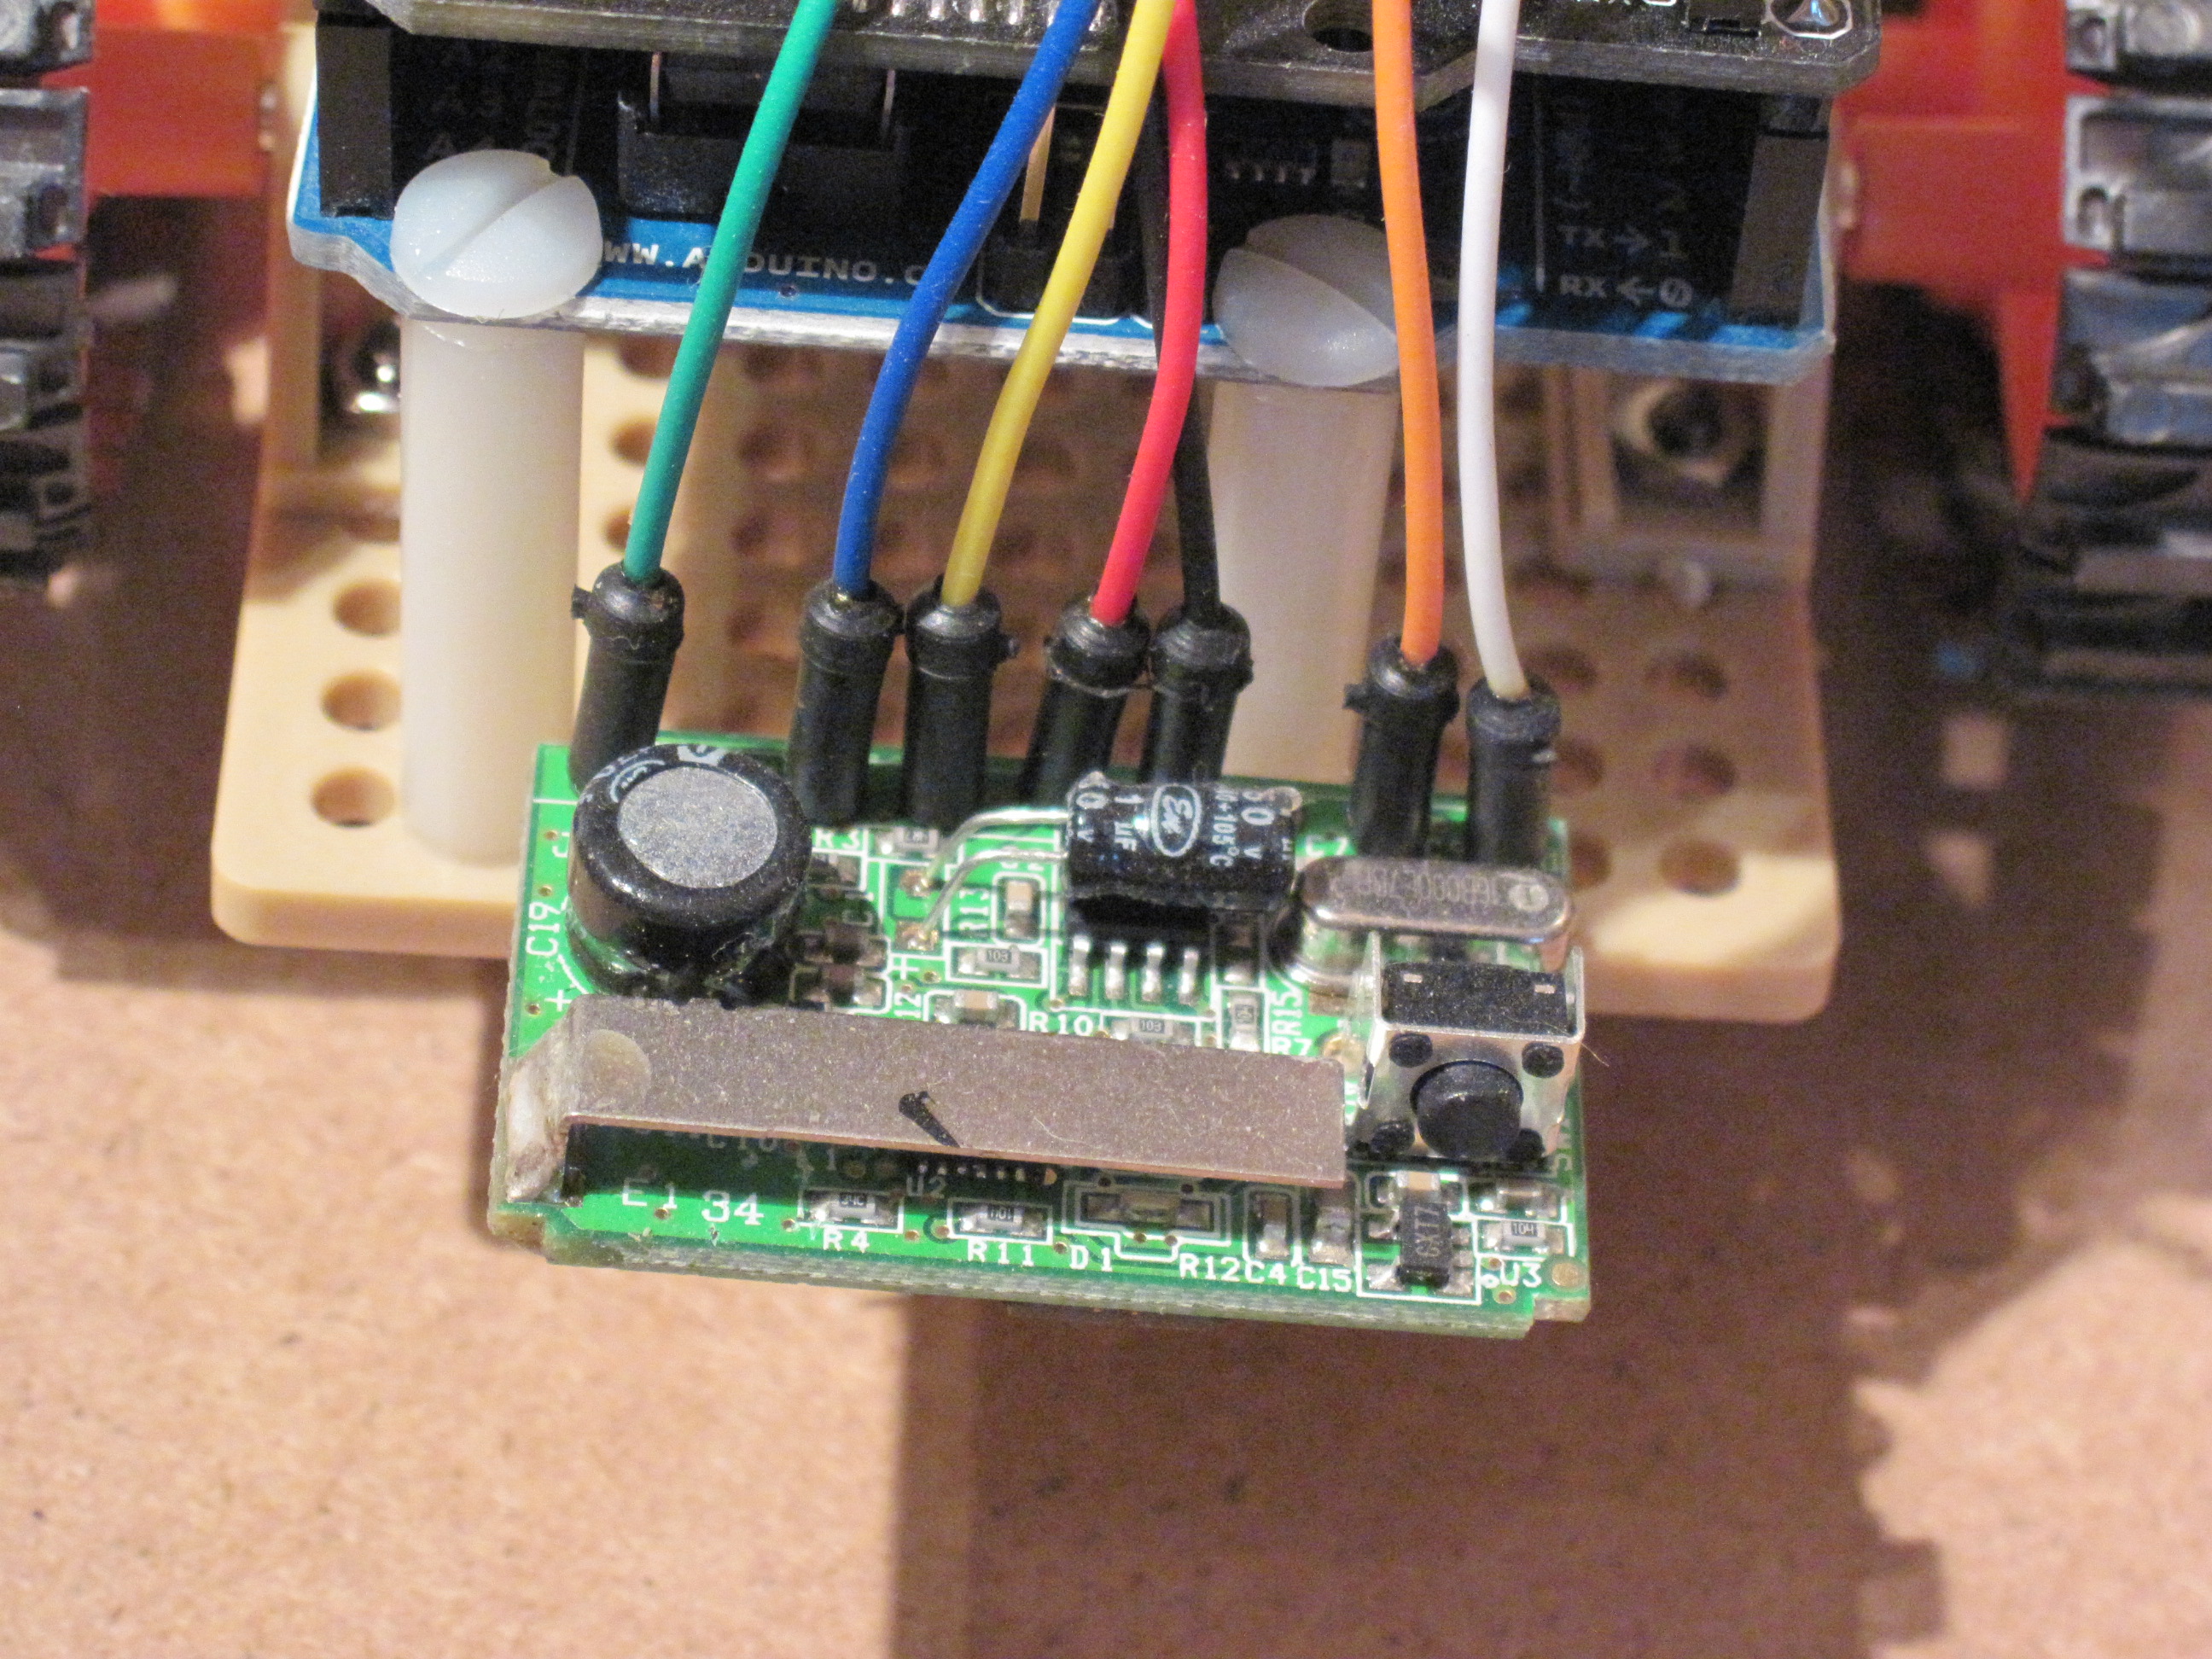
Additionally, I wanted to use a wireless Playstation controller for the remote control. I picked up a used Logitech wireless PS2 controller from my local Gamestop (since closed). You can find them on Amazon as well.

Another option is the Hydra PS2 controller.

I allowed myself a bit of luxury by buying jumper wires.

A battery pack to hold four AA batteries seemed like enough power.

Assembly of the chassis was straightforward...

After building the chassis, the motor, and doing a quick test with the battery pack connected directly to the motors, I moved on to attaching the Uno and motor shield, I had some 1.5 inch nylon standoffs with screws that I used to mount the Arduino complex to the chassis. I did another quick test controlling the motors using the Arduino + Motor Shield.

        //Arduino PWM Speed Control for DFRobot Motor Shield
        //

        int E1 = 6;
        int M1 = 7;
        int E2 = 5;
        int M2 = 4;

        void setup()
        {
            pinMode(M1, OUTPUT);
            pinMode(M2, OUTPUT);
        }

        void loop()
        {
            int value;
            for(value = 0 ; value <= 255; value+=5)
            {
                digitalWrite(M1,HIGH);
                digitalWrite(M2, HIGH);
                analogWrite(E1, value);   //PWM Speed Control
                analogWrite(E2, value);   //PWM Speed Control
                delay(30);
            }
        }
Finally, I tore apart the wireless dongle for the PS2 controller, soldered on some jumper pigtails and connected it to the Arduino. Using PS2X from Bill Porter, I got basic remote control working pretty quickly.

        // Glue together PS2X controller code with DFRobot Motor Shield code
        //
        #include <PS2X_lib.h>  //for v1.6

        PS2X ps2x; // create PS2 Controller Class

        //right now, the library does NOT support hot pluggable controllers, meaning
        //you must always either restart your Arduino after you conect the controller,
        //or call config_gamepad(pins) again after connecting the controller.
        int error = 0;
        byte type = 0;
        byte vibrate = 0;

        //Arduino PWM Speed Control for DFRobot Motor Shield (default pins)
        int E1 = 6;
        int M1 = 7;
        int E2 = 5;
        int M2 = 4;
        int lmotor = 0;
        int rmotor = 0;

        void setup()
        {
            Serial.begin(57600);

            // set pin modes for DFRobot Motor Shield
            pinMode(M1, OUTPUT);
            pinMode(M2, OUTPUT);

            error = ps2x.config_gamepad(13,11,10,12, true, true);   //setup pins and settings:  GamePad(clock, command, attention, data, Pressures?, Rumble?) check for error

            if(error == 0)
            {
                Serial.println("Found Controller, configured successful");
                Serial.println("Try out all the buttons, X will vibrate the controller, faster as you press harder;");
                Serial.println("holding L1 or R1 will print out the analog stick values.");
                Serial.println("Go to www.billporter.info for updates and to report bugs.");
            }
            else if(error == 1)
            {
                Serial.println("No controller found, check wiring, see readme.txt to enable debug. visit www.billporter.info for troubleshooting tips");
            }
            else if(error == 2)
            {
                Serial.println("Controller found but not accepting commands. see readme.txt to enable debug. Visit www.billporter.info for troubleshooting tips");
            }
            else if(error == 3)
            {
                Serial.println("Controller refusing to enter Pressures mode, may not support it. ");
            }

            type = ps2x.readType();
            if (type != 1)
            {
                Serial.println("warning: DualShock Controller Not Found!");
            }
        }

        void loop()
        {
            if(error == 1) //skip loop if no controller found
                return;
            if (type == 1)
            {
                ps2x.read_gamepad(false, vibrate);          //read controller and set large motor to spin at 'vibrate' speed

                lmotor = 0;
                if (ps2x.Button(PSB_L1))
                    lmotor = 255;
                if (ps2x.Button(PSB_L2))
                    lmotor = -255;

                rmotor = 0;
                if (ps2x.Button(PSB_R1))
                    rmotor = 255;
                if (ps2x.Button(PSB_R2))
                    rmotor = -255;
            }
            else
            {
                lmotor = 0;
                rmotor = 0;
            }

            // update motors
            if (lmotor < 0)
            {
                digitalWrite(M1, LOW);
                analogWrite(E1, -lmotor);   //PWM Speed Control
            }
            else
            {
                digitalWrite(M1, HIGH);
                analogWrite(E1, lmotor);   //PWM Speed Control
            }

            if (rmotor < 0)
            {
                digitalWrite(M2, LOW);
                analogWrite(E2, -rmotor);   //PWM Speed Control
            }
            else
            {
                digitalWrite(M2, HIGH);
                analogWrite(E2, rmotor);   //PWM Speed Control
            }

            delay(30);
        }
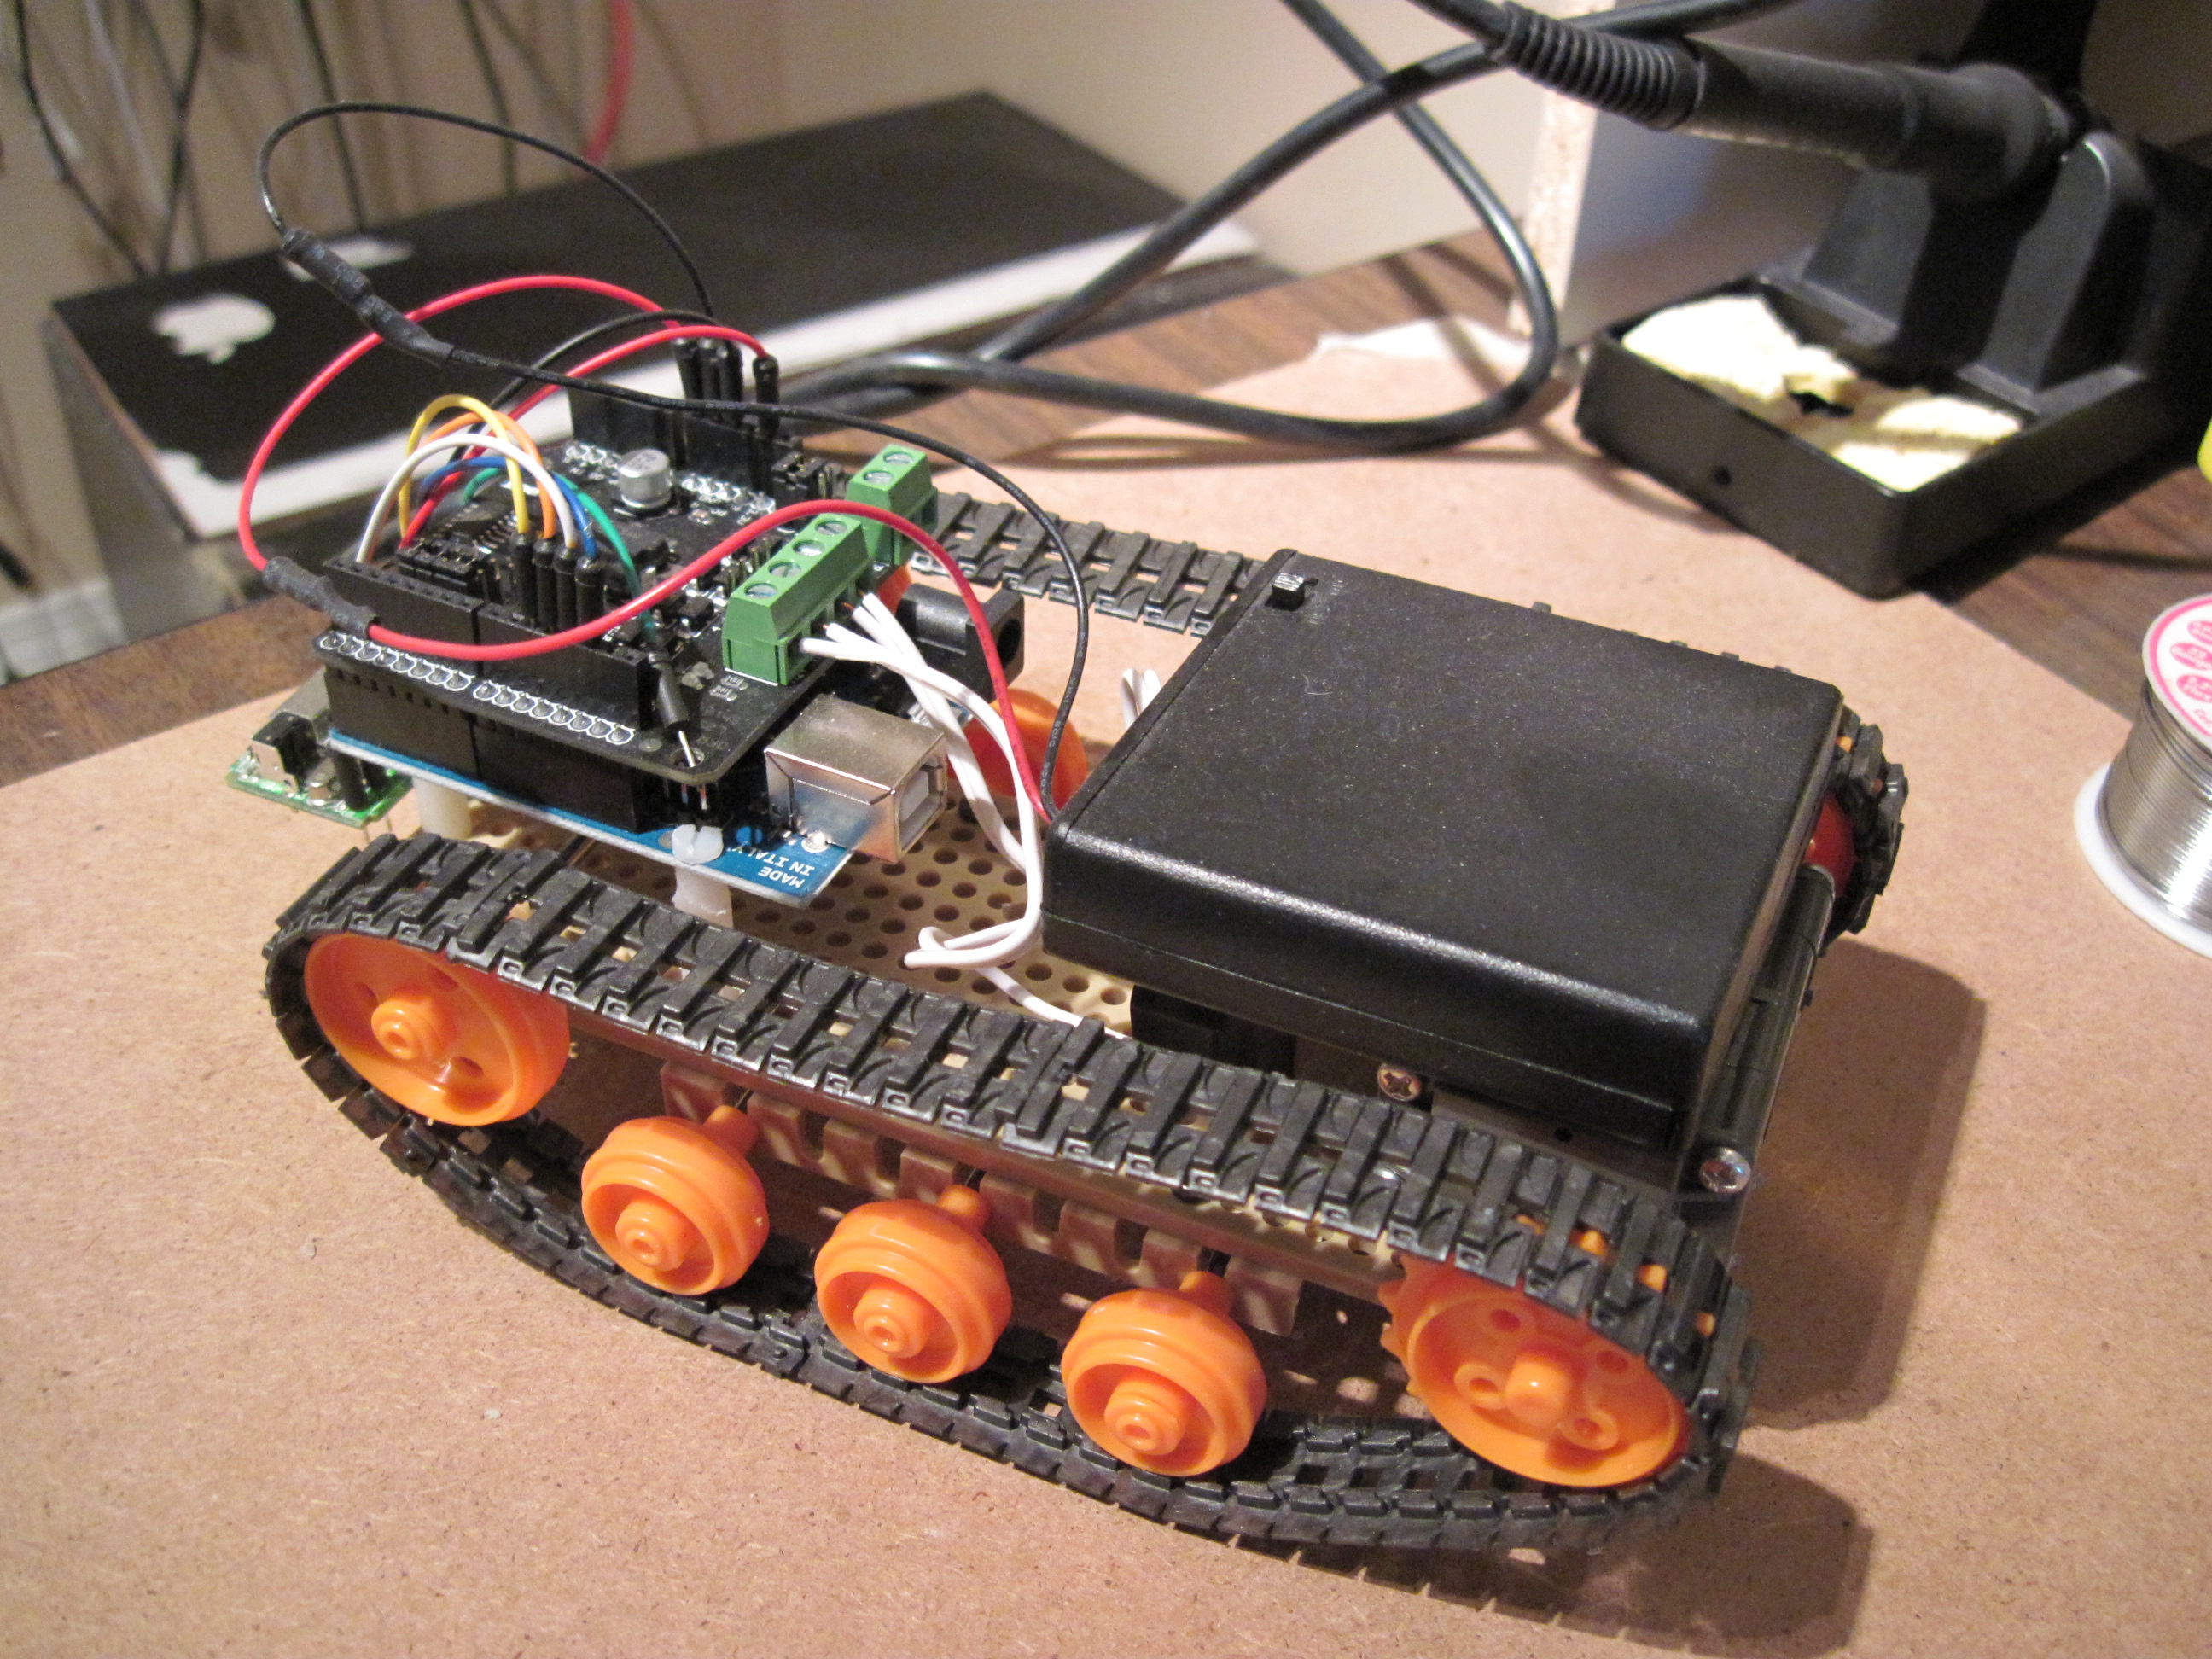
Overall, the little tank worked pretty well and we had fun building it. I think the four AA batteries aren't really enough to power the system as I couldn't drive both motors in opposite directions simultaneously (or there is a bug in my code which is equally possible).
 Since we built this, I've used the Arduino for a number of projects (yet to be posted) and picked up an Ultrasonic sensor that we've yet to put into use on the tank. That'll have to be a future post.

Updated: A Mostly Complete Parts List
Here's the items I used with links to Amazon (based on looking at my order history).
- Tamiya 70168 Left/Right Independent 4 Speed Double Gearbox
- Tamiya Track and Wheel Set TAM70100
- Tamiya Universal Plate TAM70098
- Arduino UNO board
- Motor Shield for Arduino
- Breadboard jumper wire 75pcs pack
- Logitech PlayStation 2 Cordless Action Controller
(I actually bought mine used from a local Gamestop)
- 4 x 1.5V AA Battery Case Holder
(Note that this links to Amazon but I actually bought mine from a local electronics store.)
- Nylon Spacers and Screws (for mounting Uno to chassis)
Update 1
Here is a Fritzing diagram for this project.

Update 2
A few people have asked for book recommendations for learning to code for Arduino. My son found the following book useful when he was doing projects with Arduino.


